It’s hard to admit but there were days when I used to be scared of those hardcore terminal commands. It was only when I tried and fell in love with the process simplicity attached minimal effort to get a good deal of work done through it. Well, long story short, as you know I am a WordPress Developer, so having to upload WordPress plugins at WordPress.org repository is part of routine. When I updated from Mavericks to Yosemite OS in my Macbook Pro, I started getting strange errors. It was like some connectivity issue with older version of SVN and Yosemite. I had SVN 1.6.5 and it kept giving me the following error.
Segmentation Fault : 11
It happened when I tried to checkout any of my WordPress plugins repository to my local machine. Spending quite a good deal of time, or should I say a day and half, after installing several version I found a way to debug it. Today I intend to share it with you.
What you need?#
Here is the stuff you need
- Macbook (Left using Windows long ago)
- Homebrew (http://brew.sh/ – The missing package manager for OS X)
- Terminal to install the new version of SVN after uninstalling the older one which comes with command line tools for Xcode
Step #1: Check the path of your previously installed SVN#
Open the terminal app in your mac and write the following command and press enter
which svn
Step #2: Uninstall the SVN#
The step #1 response I got was /usr/local/bin/svn which is the path where my present version of SVN was installed. All I needed to do was remove it. You should do it through this command
sudo rm /usr/bin/svn
Step #3: Install Homebrew#
If you have Homebrew installed then leave this step otherwise just follow the description at Homebrew (http://brew.sh/ ) to install it.
Step #4: Install new version of SVN#
Then all you have to do is install the latest version of SVN through Homebrew
brew install svn
Step #5: Link SVN#
Due to some old references I had to link SVN again. You can do it through the following piece of code.
brew link --overwrite subversion
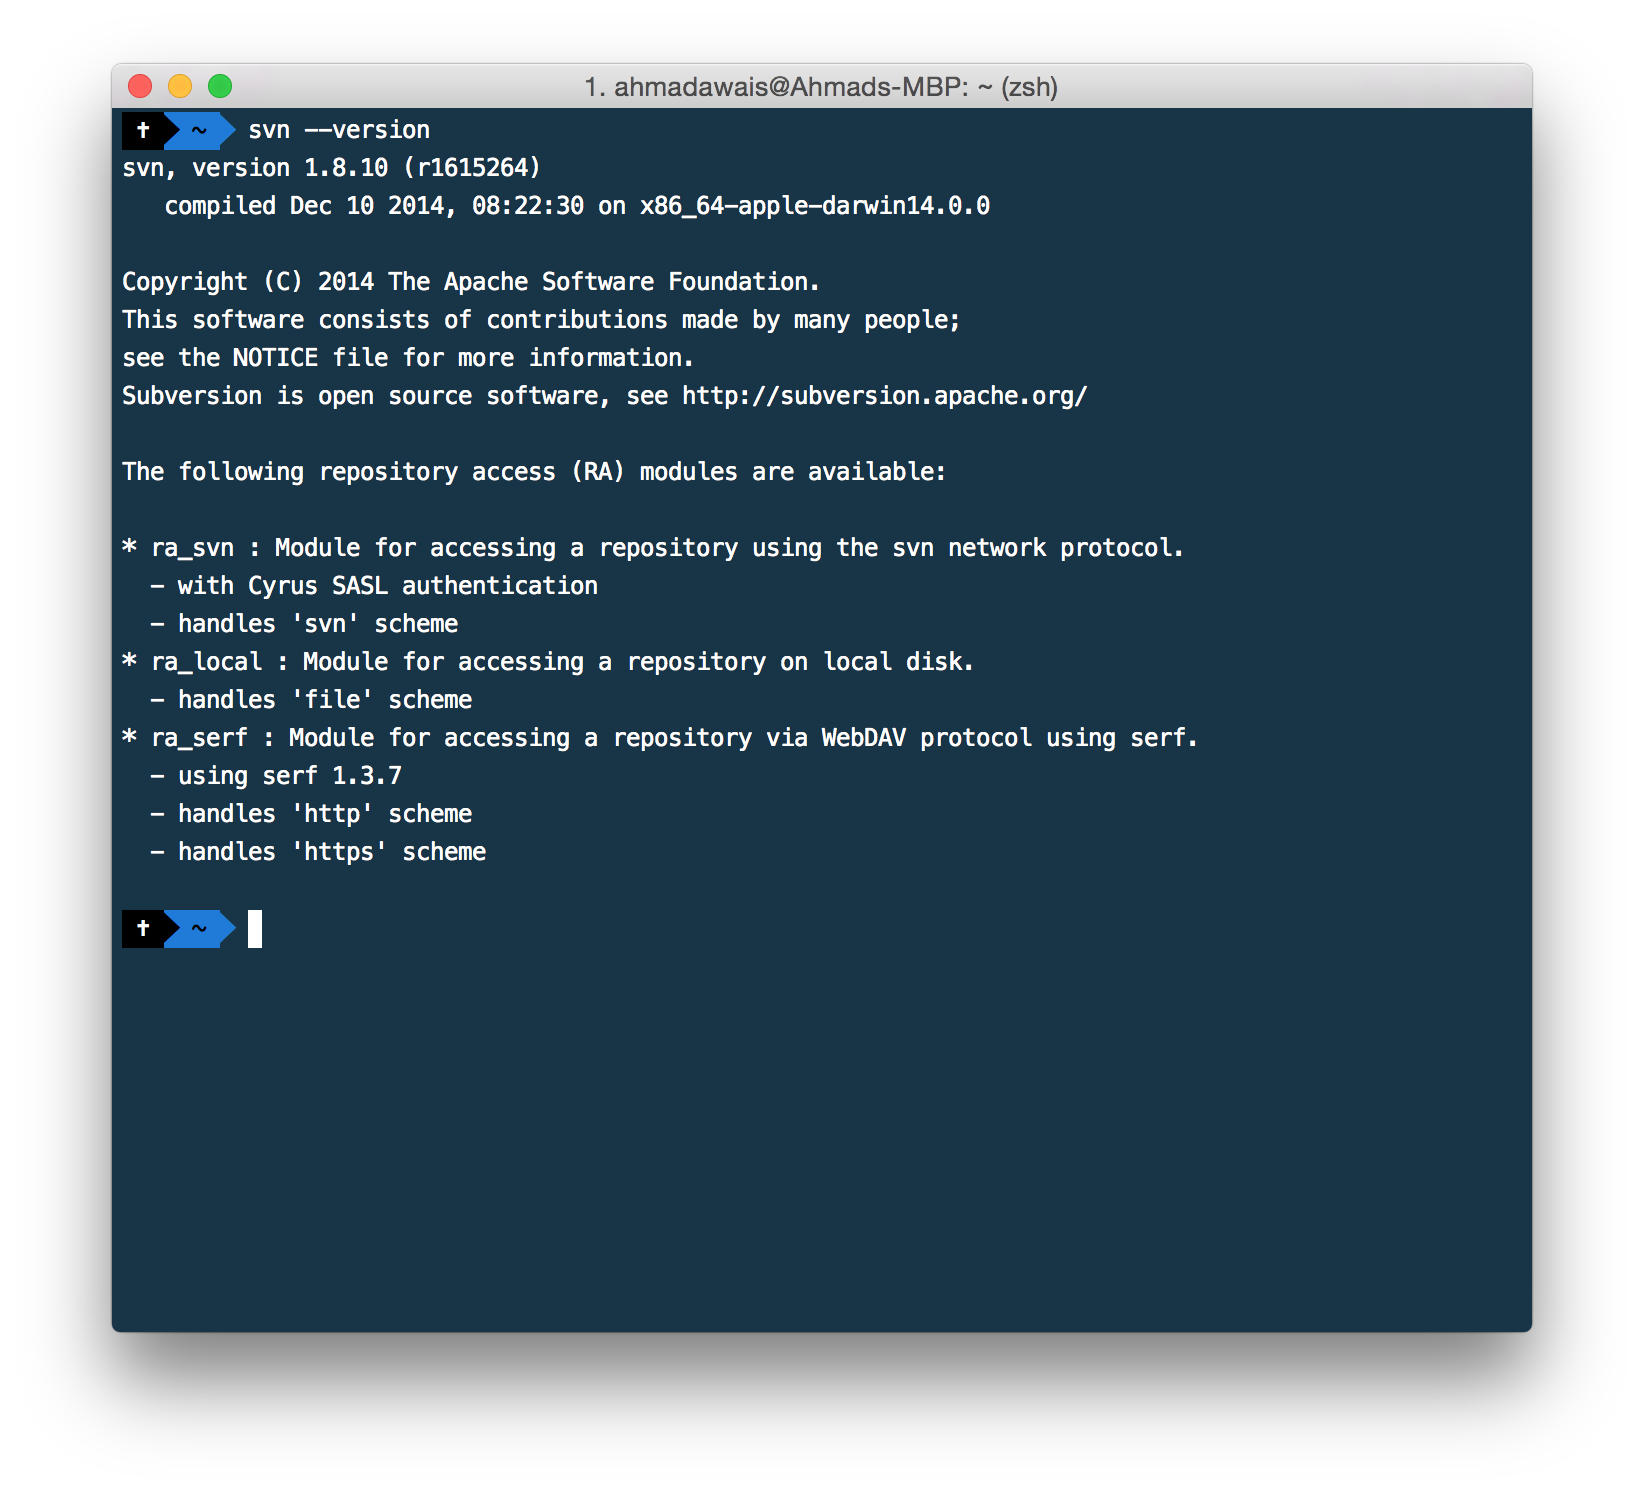
Volla! You’ve got the latest version of SVN installed which works perfectly with Yosemite.


Thank you so much for this tutorial. I was having the same problem with svn, but with this tutorial it is fixed.
Thanks again.
Happy to help. :)
Thanks Much buddy. I was stuck in the same situation. Just followed your tutorial and everything works like magic!!!
Thanks so much for this tutorial & also for the work on WordPress – we use it a lot here!
Again, happy to be helpful.
I installed a fresh Yosemite and then followed exact steps mentioned here. All steps went fine except the last one.
When I do $svn –version, it gives me an error: No such file or directory.
Can you help me to identify the issue?
Thank you, Naresh
You need to have the older version installed to follow this tutorial. May be you installed the new one and delete it. Just install the latest version.
Great! Helped me much. I attempt to install the wandisco package, but all failed. brew saved me. I guess some dependencies were lost, such as openssl, and brew installed them for me.
thanks!
Thank you for this!
Thank you, other tutorials were giving me a headache – this worked like a charm!
Thanks. Glad I could help.
Would this work still at this time?
It does!
2021 and still works!! Thanks Ahmad!!
Mentions